
Introduction
In recent years, the allure of homemade pizza has captured the hearts and palates of culinary enthusiasts around the globe. The joy of crafting a personalized pizza, from selecting the toppings to experimenting with different sauces, creates a unique dining experience that store-bought pizzas can rarely match. However, a great pizza begins with an equally great foundation: the dough. The right pizza dough can elevate your culinary creation from ordinary to extraordinary, making it crucial for any pizza lover to master the art of dough-making.
Enter the Artisan Pizza Dough recipe—an easy yet rewarding option for both novice cooks and seasoned chefs. This recipe combines simple ingredients and straightforward techniques to yield a dough that is not only easy to work with but also produces a crust that is crispy on the outside and chewy on the inside. Whether you’re hosting a pizza night with friends or indulging in a quiet evening at home, this artisan dough will enhance your pizza-making experience and leave your taste buds craving more.
Understanding the Ingredients
All-Purpose Flour: The Star of Your Dough
At the heart of any great pizza dough is its most essential ingredient: flour. All-purpose flour is a versatile choice for pizza dough, providing a balanced protein content that contributes to the ideal texture. When mixed with water and other ingredients, the proteins in the flour form gluten—a network that gives the dough its structure and elasticity. This elasticity is vital for creating a dough that can be stretched without tearing, leading to that classic pizzeria-style crust.
While all-purpose flour is a common staple, it is worth noting that not all flours are created equal. Different types of flour can significantly impact the texture and flavor of your finished crust. For instance, bread flour, which contains a higher protein content than all-purpose flour, can create an even chewier texture, while 00 flour—often used in traditional Neapolitan pizzas—yields a softer, more delicate crust. Experimenting with various flours can lead to delightful discoveries that suit your personal pizza preferences.
The Significance of Sea Salt
Next on our list is sea salt, a seemingly simple ingredient that plays an essential role in pizza dough. Salt enhances the flavor of the dough and acts as a control mechanism for yeast activity. By regulating the fermentation process, salt ensures that the dough rises at the right pace, leading to a well-structured crust. Additionally, the presence of salt in the dough helps to strengthen the gluten network, which contributes to the dough’s overall texture.
When choosing salt for your pizza dough, opt for high-quality sea salt for the best results. Its natural minerals can add an extra layer of flavor that table salt may lack. Remember, however, that too much salt can inhibit yeast activity, so measuring accurately is key.
Instant Yeast: The Magic Ingredient
Yeast is the magical ingredient that brings your pizza dough to life. For this Artisan Pizza Dough recipe, we’ll be using instant yeast, a convenient option that requires no proofing before use. Instant yeast is known for its ability to work quickly and efficiently, making it ideal for recipes that require a shorter rise time.
It’s important to understand the difference between instant yeast and active dry yeast, the latter of which typically requires a warm water activation step before it can be added to the dough. While both types of yeast will yield a delicious pizza crust, using instant yeast simplifies the process, allowing you to spend less time waiting and more time enjoying your culinary creation.
The Role of Warm Water
Water is another crucial component in the pizza dough-making process. The temperature of the water used can significantly affect the yeast’s activation. Ideally, you want to use warm water—around 110°F (43°C)—to create an optimal environment for the yeast to thrive. Water that is too hot can kill the yeast, while water that is too cold will slow down the fermentation process, resulting in a dense and under-risen dough.
When mixing your ingredients, it’s advisable to pour the warm water directly into the well you create with the dry ingredients. This ensures that all the flour is adequately hydrated, helping to develop the gluten structure that gives your dough its desirable chewy texture.
The Function of Olive Oil
Olive oil is more than just a flavor enhancer; it serves several functional purposes in pizza dough. By adding olive oil to your dough, you increase its moisture content, resulting in a more tender and flavorful crust. The fat in the oil also helps to inhibit gluten formation slightly, allowing for a more relaxed dough that is easier to stretch and shape.
Additionally, olive oil can contribute to a beautifully golden-brown crust when baked, adding to the visual appeal of your finished pizza. For the best results, opt for extra virgin olive oil, which is known for its robust flavor profile and health benefits.
Optional Sweeteners: Honey vs. Sugar
While sugar is not a required ingredient in pizza dough, a small amount can enhance the overall flavor and texture of the crust. Sweeteners like honey or sugar can contribute to browning during baking, giving your pizza a deliciously golden crust.
When deciding between honey and sugar, consider the flavor profiles you wish to achieve. Honey imparts a subtle floral sweetness, while sugar provides a more neutral sweet taste. Either option can work well in your artisan pizza dough, so feel free to experiment based on your preferences.
Step-by-Step Guide to Making Artisan Pizza Dough
Now that we’ve explored the essential ingredients, it’s time to delve into the step-by-step process of making your Artisan Pizza Dough. This guide will walk you through each stage, ensuring that you achieve a perfect dough every time.
Preparing the Dough
Start by gathering all your ingredients, including all-purpose flour, sea salt, instant yeast, warm water, olive oil, and your choice of sweetener. Having everything measured and ready to go will streamline the process and make it more enjoyable.
Mixing Dry Ingredients and Creating a Well
In a large mixing bowl, combine the all-purpose flour, sea salt, and instant yeast. Using a whisk, mix these dry ingredients thoroughly to ensure even distribution. Once combined, create a well in the center of the mixture. This well will serve as a reservoir for the wet ingredients, allowing for a more efficient incorporation of the dough components.
Importance of Using the Right Water Temperature
Next, pour the warm water into the well you created. If you chose to use honey or sugar, add it to the water at this stage, allowing it to dissolve fully before mixing. The warm water should feel comfortably warm to the touch, ideally around 110°F (43°C). This temperature will activate the yeast without killing it, setting the stage for a successful rise.
Kneading the Dough
Once the wet ingredients are incorporated into the dry mixture, it’s time to knead the dough. Transfer the dough onto a floured surface, and begin kneading by pushing the dough away from you with the heel of your hand, then folding it back over itself. Rotate the dough a quarter turn and repeat this process.
Kneading is essential for developing the gluten structure in your dough, which provides the chewy texture we all love in pizza crusts. Aim to knead the dough for about 8-10 minutes, or until it becomes smooth and elastic. If the dough feels too sticky, sprinkle a little more flour on the surface as needed, but be careful not to add too much, as this can lead to a dry dough.
Techniques for Effective Kneading
There are several techniques you can employ to ensure effective kneading. The push-and-fold method is a classic approach, but you can also use the slap-and-fold technique, which involves slapping the dough down onto the work surface and folding it over itself. This method can help incorporate air into the dough, further enhancing its texture.
As you knead, pay attention to the dough’s elasticity. It should spring back when lightly pressed. If it doesn’t, continue kneading until it reaches that desirable consistency. The dough should be slightly tacky but not overly sticky, ensuring that it can be shaped and stretched easily once it has risen.
Stay tuned for the next part, where we will explore the fermentation process, shaping techniques, and tips for baking your perfect artisan pizza using this delightful dough!
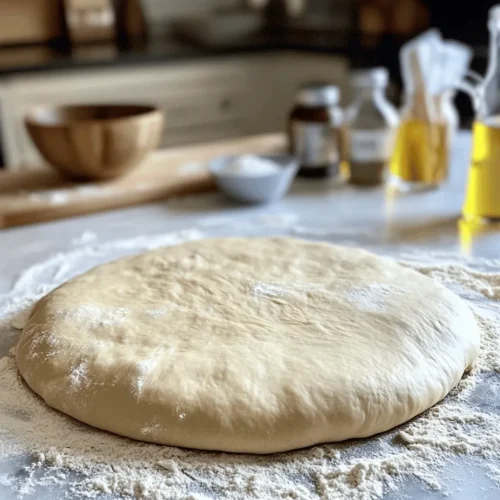
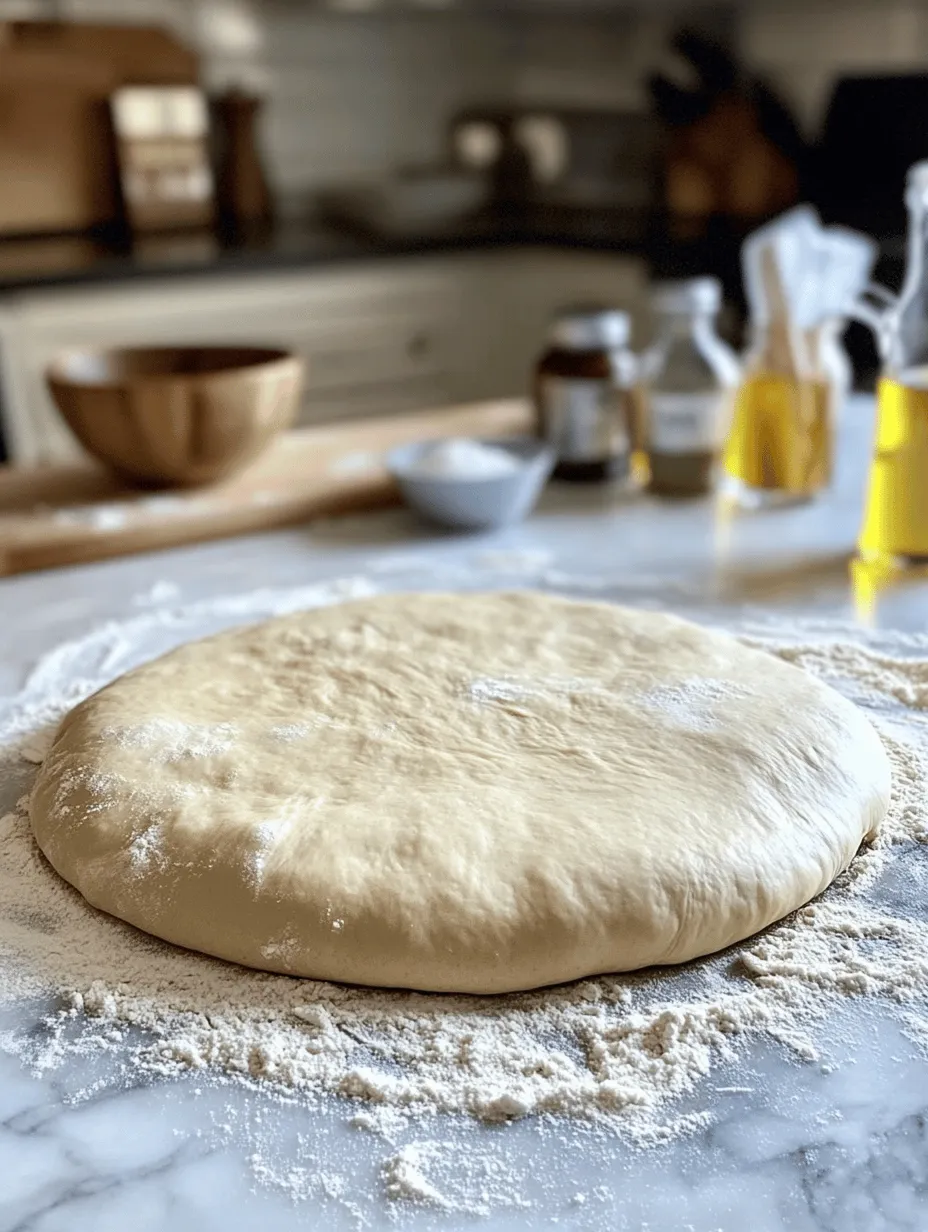
Recognizing the Right Consistency and Texture
Crafting artisan pizza dough is an art, and understanding the right consistency is crucial for achieving the perfect crust. When you mix your ingredients, your dough should come together, forming a cohesive ball. It should feel slightly tacky but not overly sticky. A well-kneaded dough will be smooth and elastic, indicating that the gluten structure is developing properly. If your dough is too dry, add a teaspoon of water at a time until it reaches the desired tackiness. Conversely, if it’s too wet, a sprinkle of flour can help balance it out.
The Rising Process
Once you’ve achieved the right consistency, it’s time for the dough to rise. This is a crucial step where the yeast ferments, causing the dough to expand. After kneading, place your dough ball in a lightly greased bowl, cover it with plastic wrap or a clean kitchen towel, and let it rise until it has doubled in size. This usually takes about 1 to 2 hours, depending on the room temperature.
Explanation of Fermentation and Its Importance
Fermentation is the process where yeast consumes sugars in the dough and produces carbon dioxide and alcohol. The carbon dioxide gets trapped in the dough, creating air pockets that lead to a light, airy crust. Additionally, fermentation enhances the flavor of the dough, making it more complex and delicious. Allowing your dough to rise slowly in a cool environment enhances the flavor even more, so consider refrigerating the dough for a longer fermentation period if you have the time.
Ideal Conditions for Dough Rising
For optimal rising, your dough needs a warm, draft-free environment. Ideal temperatures range from 75°F to 85°F (24°C to 29°C). If your kitchen is cooler, consider placing the dough in an oven with the light on, or near a radiator. A bowl of warm water can also create a warm microenvironment for your dough to rise effectively.
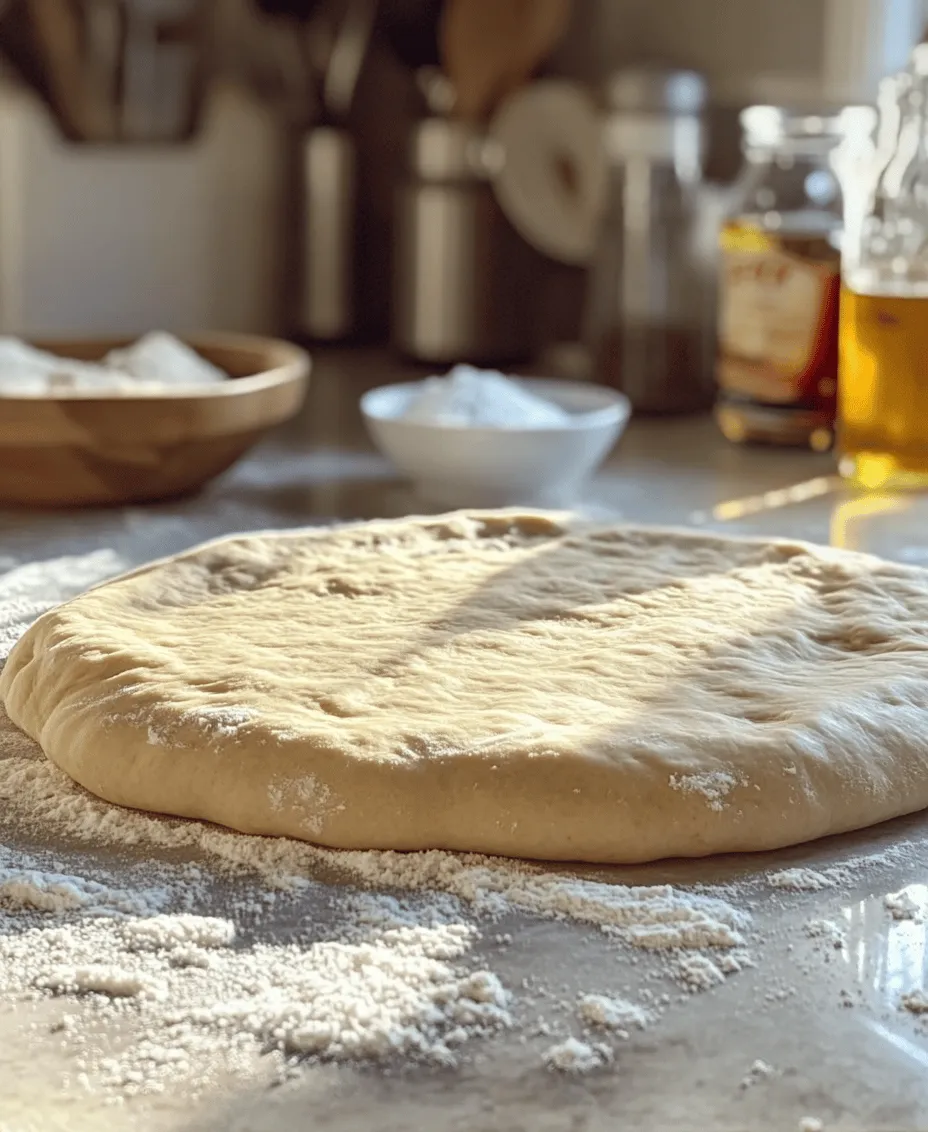
Shaping and Resting the Dough
Once your dough has risen, it’s time to shape it. Before diving into shaping, it’s important to let the dough rest for 10-15 minutes. This rest period allows the gluten to relax, making it easier to shape without snapping back.
Importance of Gluten Relaxation
Gluten relaxation is essential for achieving a tender pizza crust. When gluten is allowed to rest, it becomes less elastic, allowing you to stretch the dough without it retracting. This results in a thinner, more even crust that can hold toppings without becoming soggy.
Techniques for Dividing and Shaping the Dough
When your dough has rested, divide it into portions using a bench scraper or a sharp knife. For a standard pizza size, aim for portions of about 250 grams (8.8 ounces). Shape each piece into a tight ball by pulling the edges towards the center and rolling it on the countertop. This creates surface tension, which helps the dough maintain its shape during the second rise.
Prepping for Baking
Before you begin baking, preheat your oven to its highest temperature, typically between 475°F and 500°F (245°C to 260°C). This high heat is essential for achieving a crispy crust.
Preheating the Oven and Preparing the Baking Surface
While the oven is heating, prepare your baking surface. If using a pizza stone, place it in the oven while it preheats. This allows the stone to absorb heat and then transfer it to the pizza, ensuring a crispy bottom. If you don’t have a stone, a heavy baking tray turned upside down can serve as an excellent alternative.
Best Practices for Rolling Out the Dough
When it’s time to roll out the dough, use a lightly floured surface to prevent sticking. Start by flattening the dough ball with your hands and then gently roll it out with a rolling pin. Aim for a thickness of about ¼ inch. If the dough resists stretching, let it rest for a few minutes before continuing.
Baking the Perfect Pizza
With your oven preheated and your dough rolled out, it’s time to assemble your pizza.
Choosing the Right Toppings
Selecting the right toppings is crucial for creating a delicious pizza. Classic options include pepperoni, mushrooms, bell peppers, onions, and olives. However, don’t shy away from creative combinations such as goat cheese with arugula, or prosciutto with figs.
Suggestions for Classic and Creative Toppings
– Classic Margherita: Tomato sauce, fresh mozzarella, fresh basil, and a drizzle of olive oil.
– Pepperoni and Cheese: Tomato sauce, mozzarella cheese, and a generous topping of pepperoni.
– Veggie Delight: A mix of bell peppers, onions, olives, and mushrooms over a layer of tomato sauce and cheese.
– Gourmet Option: Fig jam, goat cheese, caramelized onions, and arugula for a sweet and savory flavor.
Importance of Balance Between Sauce, Cheese, and Toppings
Achieving a harmonious balance between sauce, cheese, and toppings is key. Too much sauce can make the crust soggy, while too little can lead to a dry pizza. Typically, aim for a thin layer of sauce, a generous layer of cheese, and enough toppings to add flavor without overwhelming the base.
Baking Tips for Optimal Crust
For the best results, slide your pizza onto the preheated stone or tray using a pizza peel dusted with flour or cornmeal. This prevents sticking. Bake for 8 to 12 minutes, or until the crust is golden brown and the cheese is bubbling.
Understanding Oven Temperatures and Baking Times
Oven temperatures vary, so keep an eye on your pizza as it bakes. At high temperatures, pizzas cook quickly, so start checking for doneness around the 8-minute mark. If your crust isn’t browning as desired, you can switch the oven to broil for the last minute or two.
The Role of a Pizza Stone Versus a Baking Tray
Using a pizza stone is ideal as it retains heat and distributes it evenly, resulting in a well-cooked crust. However, if you don’t have one, a heavy baking tray can work effectively as well. Just ensure it’s preheated to achieve a crispy base.
Serving and Enjoying Your Artisan Pizza
Once your pizza is baked to perfection, it’s time to serve.
Suggestions for Serving Styles
Cut the pizza into slices and serve it hot from the oven. You can serve it on a rustic wooden board for a charming presentation. Consider adding fresh herbs or a sprinkle of grated Parmesan as a finishing touch.
Pairing Pizzas with Sides or Dips
Pizza pairs beautifully with sides such as a fresh salad, garlic bread, or antipasto platters. For dips, consider marinara sauce, ranch dressing, or a spicy aioli to enhance the flavor experience.
Importance of Letting the Pizza Cool Before Slicing
Allowing your pizza to cool for a couple of minutes before slicing helps the cheese set slightly, making it easier to cut through without losing toppings. This also prevents burns from hot cheese or sauce.
Ideas for Enjoying Leftovers
Homemade pizza makes for fantastic leftovers. To reheat, place slices in a skillet over medium heat for a few minutes until the bottom crisps up again. Alternatively, a brief stint in the microwave can help, although it may not retain the same crispness.
Conclusion
Making artisan pizza dough at home is not just about the final product; it’s about the joy and satisfaction that comes from the entire process. From kneading the dough to selecting toppings, each step contributes to a delightful culinary experience. Don’t hesitate to experiment with different toppings and dough variations to create your perfect pizza.
Whether it’s a cozy family dinner or a gathering with friends, homemade pizza nights are a wonderful way to bring people together. So roll up your sleeves, gather your ingredients, and enjoy the rewarding journey of crafting your artisan pizza.