
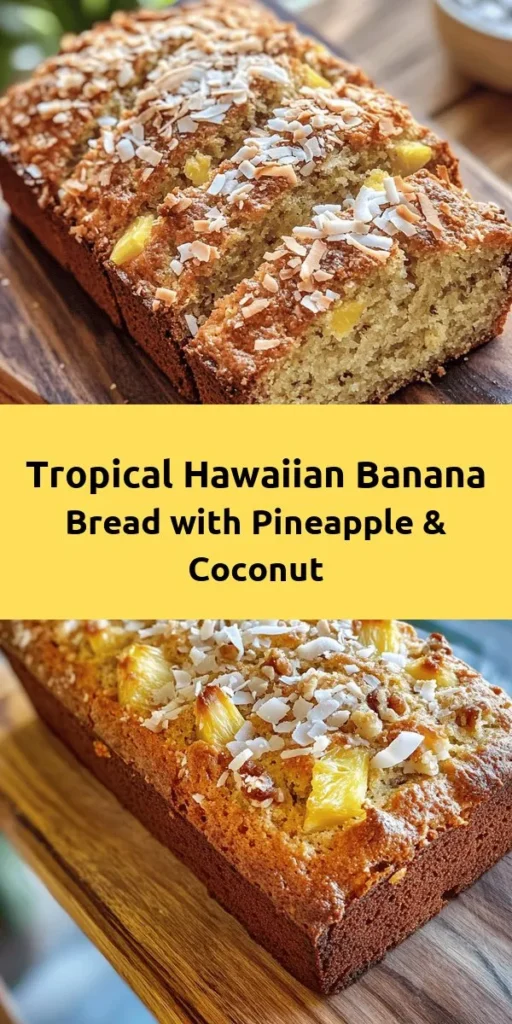
Introduction to Tropical Bliss: Hawaiian Banana Bread with Pineapple & Coconut
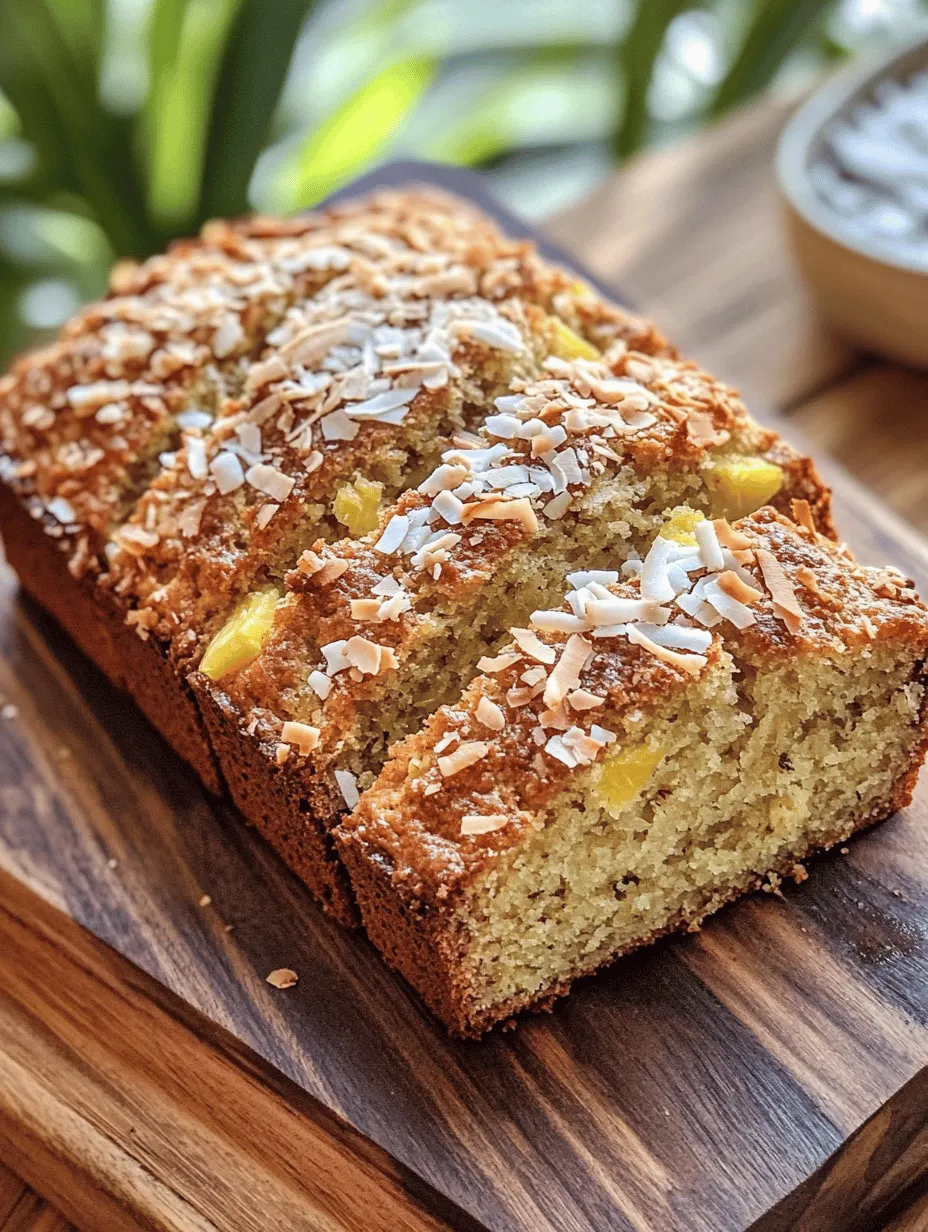
Step into the world of tropical flavors with this delightful recipe for Hawaiian Banana Bread, a deliciously moist loaf that features the sweet and tangy combination of ripe bananas, crushed pineapple, and shredded coconut. This mouthwatering treat is not just a simple banana bread; it’s a tropical escape that transports your taste buds to a sunny paradise with every bite. Whether you’re enjoying it for breakfast, serving it at brunch, or nibbling on it as a satisfying snack, this Hawaiian Banana Bread is sure to please your palate and fill your kitchen with irresistible aromas.
The origins of banana bread can be traced back to the early 1930s, when it became a popular way to use up overripe bananas. Over the years, this comforting baked good has evolved, and creative bakers have experimented with various flavors and additions. The addition of pineapple and coconut draws inspiration from Hawaiian cuisine, which is known for its vibrant flavors and tropical ingredients. This recipe not only highlights the natural sweetness of bananas but also incorporates the juicy tang of pineapple and the chewy texture of coconut, making for a truly unique and delicious loaf.
As you embark on this culinary adventure, get ready to gather your ingredients and prepare for a fun and rewarding baking experience. With easy-to-follow steps, you’ll be on your way to creating a loaf of Hawaiian Banana Bread that’s bursting with flavor and sure to be a hit with family and friends.
Understanding the Ingredients: A Tropical Medley
Exploring the Core Ingredients
Before diving into the baking process, it’s essential to understand the key ingredients that make this Hawaiian Banana Bread so special. Each component plays a vital role in contributing to the overall flavor and texture of the loaf.
– Ripe Bananas: The foundation of this bread, ripe bananas provide natural sweetness and moisture. The more spots on the bananas, the better! Overripe bananas are ideal because they enhance the flavor and ensure a moist final product.
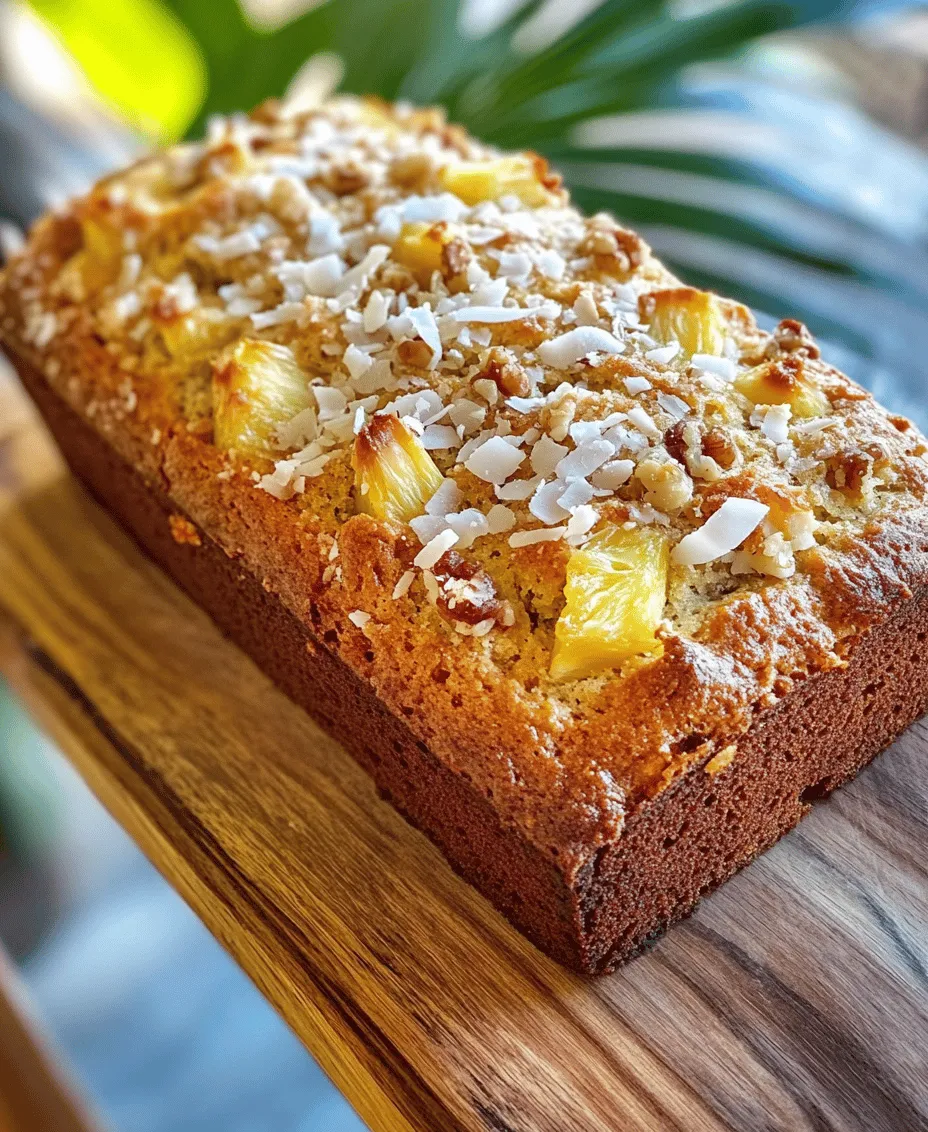
– Crushed Pineapple: Adding moisture and a burst of tropical sweetness, crushed pineapple is a game changer in this recipe. Its natural sugars complement the bananas perfectly while adding a unique tang that elevates the flavor profile of the bread.
– Shredded Coconut: For that quintessential tropical flair, shredded coconut brings a chewy texture to the mix. Whether you choose sweetened or unsweetened coconut, it adds a delightful bite that harmonizes beautifully with the other ingredients.
– Sugars: A combination of granulated sugar and brown sugar is used to balance the sweetness of the fruit. The brown sugar adds a hint of caramel flavor, enhancing the overall richness of the bread.
– Butter and Eggs: These ingredients are crucial for providing richness and helping to bind the ingredients together. Butter adds flavor and moisture, while eggs contribute to the structure and stability of the loaf.
– Flour and Baking Soda: All-purpose flour provides the necessary structure to the bread, while baking soda acts as a leavening agent, ensuring that your loaf rises beautifully.
– Optional Nuts: While not required, adding nuts like walnuts or macadamia nuts can enhance both the texture and flavor complexity of the bread. They provide a satisfying crunch that contrasts with the softness of the loaf.
Understanding these ingredients will not only help you appreciate the unique flavor combinations at play but will also guide you in making adjustments or substitutions as needed.
Step-by-Step Guide to Making Hawaiian Banana Bread
Preparing Your Baking Space
Before you start mixing and baking, it’s crucial to prepare your baking space to ensure a smooth cooking process.
– Preheating the Oven: The first step in baking is always preheating your oven. For this Hawaiian Banana Bread, set your oven to 350°F (175°C). Preheating the oven is essential as it ensures that the bread bakes evenly and rises properly. While you’re gathering your ingredients and mixing your batter, the oven will be warming up, saving you time and helping to achieve that perfect rise.
– Choosing the Right Pan: The type of pan you use can significantly affect the baking outcome. A standard loaf pan (9×5 inches) is the best choice for this recipe. It provides the right dimensions for the bread to rise without overflowing while also allowing for even baking. Additionally, if you prefer a slightly crustier loaf, consider using a metal pan rather than a glass one.
Creating the Perfect Batter
Now that your baking space is ready, it’s time to create the perfect batter for your Hawaiian Banana Bread.
– Mixing Wet Ingredients: Start by mashing the ripe bananas in a large mixing bowl until they are smooth. You can use a fork or a potato masher for this task. Next, add the crushed pineapple (make sure to drain it slightly to avoid excess liquid) and melted butter to the bananas. Mix these wet ingredients thoroughly until well combined. The key to a moist banana bread is to ensure that all the wet elements are seamlessly blended before adding any dry ingredients.
– Combining Dry Ingredients: In a separate bowl, whisk together the all-purpose flour, baking soda, granulated sugar, brown sugar, and shredded coconut. Make sure to sift or whisk the flour and baking soda together to avoid lumps, ensuring an even distribution of the leavening agent throughout the batter.
– Merging Mixtures: Once your wet and dry ingredients are prepared, it’s time to combine them. Pour the dry mixture into the bowl containing the wet ingredients. Using a spatula or wooden spoon, gently fold the two mixtures together. Be careful not to overmix; a few lumps are okay. Overmixing can lead to a dense loaf, while a gentle fold will create a light and fluffy texture.
Baking to Perfection
After creating the batter, it’s time to bake your Hawaiian Banana Bread to perfection.
– Knowing When to Bake: Pour the prepared batter into your greased loaf pan, smoothing out the top for an even bake. Place the pan in your preheated oven and bake for approximately 60-70 minutes. Keep an eye on the bread, as baking times can vary depending on your oven. To check for doneness, insert a toothpick or cake tester into the center of the loaf; if it comes out clean or with a few moist crumbs (not wet batter), your banana bread is ready.
– Managing Browning: During the baking process, you may notice that the top of the bread is browning faster than the rest of the loaf. If this happens, loosely cover the top with aluminum foil during the last 15-20 minutes to prevent over-browning while allowing the inside to continue cooking.
With these steps, you’ll be well on your way to crafting a delicious loaf of Hawaiian Banana Bread that embodies the essence of tropical flavors. Stay tuned for the next part of our guide, where we will delve into tips for best results and answer common questions about this delightful recipe. Happy baking!
Cooling and Serving Suggestions
Cooling Process
Once you’ve baked your Tropical Bliss: Hawaiian Banana Bread with Pineapple & Coconut, allowing it to cool properly is essential to achieving the perfect texture and flavor. Cooling affects the structure of the bread, enabling the flavors to meld beautifully and preventing it from becoming gummy or overly moist.
1. Importance of Cooling: Proper cooling is crucial as it allows steam to escape, which helps set the crumb structure. If you slice into the bread while it’s still hot, the steam released can create a dense, soggy texture rather than the light and fluffy finish we desire. Cooling also enhances the flavors, allowing them to develop and intensify.
2. Transferring to a Wire Rack: After removing the banana bread from the oven, let it cool in the pan for about 10-15 minutes. This brief resting period makes it easier to release the bread without it falling apart. To transfer, gently run a butter knife around the edges of the pan to loosen it, then invert the pan onto a wire rack. If you’re using parchment paper, you can simply lift the bread out by the overhanging edges. Placing it on a wire rack allows air to circulate around the bread, cooling it evenly and preventing a soggy bottom.
Serving Ideas
The beauty of Hawaiian Banana Bread is that it shines all on its own, but there are several delightful ways to elevate your serving experience.
1. Enjoying on Its Own: The moistness and rich flavors of this banana bread make it delicious straight from the cooling rack. Each slice is a tropical treat, bursting with the sweetness of bananas and the subtle tang of pineapple.
2. Pairing with Spreads: For those who enjoy a bit of indulgence, consider pairing your warm banana bread with a pat of butter or a spread of coconut cream. Tropical jams, such as passion fruit or mango, can also complement the flavors perfectly. If you’re feeling adventurous, try a light smear of cream cheese mixed with a hint of vanilla for a creamy contrast.
3. Presentation Tips: To make your banana bread visually appealing, consider garnishing it with a sprinkle of toasted coconut flakes or finely chopped nuts before serving. A light dusting of powdered sugar can also add a touch of elegance. Serve the slices on a beautiful platter, perhaps with fresh pineapple slices or banana chips for an inviting tropical presentation.
Nutritional Information: A Breakdown of the Benefits
Understanding the nutritional value of your Hawaiian Banana Bread not only helps you enjoy it more mindfully but also allows you to appreciate the wholesome ingredients that go into it.
1. Caloric Content: A standard serving of Hawaiian Banana Bread (approximately one slice) contains around 200-250 calories, depending on the ingredients used and portion size. It’s a satisfying treat that can fit into a balanced diet when enjoyed in moderation.
2. Nutrients in Each Ingredient: The bananas in your bread provide potassium, which is essential for heart health and muscle function. Pineapple adds vitamin C, aiding in immune support, while coconut contributes healthy fats and fiber. Together, these ingredients not only create a delicious treat but also offer nutritional benefits that can support overall health.
3. Balancing Indulgence: While it’s tempting to indulge in this tropical delight, moderation is key. Enjoying a slice alongside a healthy breakfast or as an afternoon snack can help balance out the sweetness and calories, allowing you to satisfy your cravings without overdoing it.
Variations and Customizations for Hawaiian Banana Bread
One of the joys of baking is the ability to customize recipes according to your tastes or dietary needs. Here are some creative variations and customizations you can explore with your Hawaiian Banana Bread.
1. Exploring Flavor Variations: Consider adding spices like cinnamon or nutmeg to the batter for an extra layer of warmth and depth. These spices perfectly complement the tropical flavors and can enhance the overall aroma of the bread as it bakes.
2. Swapping Ingredients: For those with dietary preferences or restrictions, there are plenty of substitutions you can make. For instance, you can use gluten-free flour instead of all-purpose flour to accommodate gluten sensitivities without sacrificing flavor. Additionally, you can replace sugar with natural sweeteners like maple syrup or honey for a healthier option.
3. Incorporating Seasonal Fruits: Take advantage of seasonal fruits by incorporating them into your banana bread. Fresh berries, such as blueberries or strawberries, can add a burst of color and flavor. Alternatively, experimenting with dried fruits like cranberries or apricots can introduce a delightful chewiness and sweetness that complements the banana and coconut.
Conclusion: Embracing the Joy of Baking Hawaiian Banana Bread
As we conclude our exploration of Tropical Bliss: Hawaiian Banana Bread with Pineapple & Coconut, we celebrate not just the process of baking but the joy it brings to our homes and hearts. This recipe encapsulates the essence of the tropics, evoking memories of sun-kissed beaches, family gatherings, and the simple pleasures of life.
With its rich flavors and comforting texture, this banana bread stands as a testament to the beauty of simple ingredients coming together to create something truly special. Whether you enjoy it warm from the oven or toasted with a spread, each bite is a reminder of the love and effort that goes into homemade treats.
Moreover, the potential for customization means that you can make this recipe truly your own, adapting it to suit your preferences and dietary needs. So, gather your ingredients, invite friends or family to join in on the baking adventure, and embrace the warmth and happiness that comes from sharing this delicious treat with loved ones. Happy baking!
