Introduction
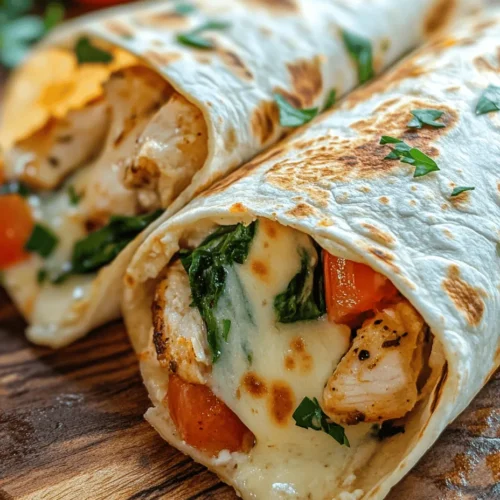
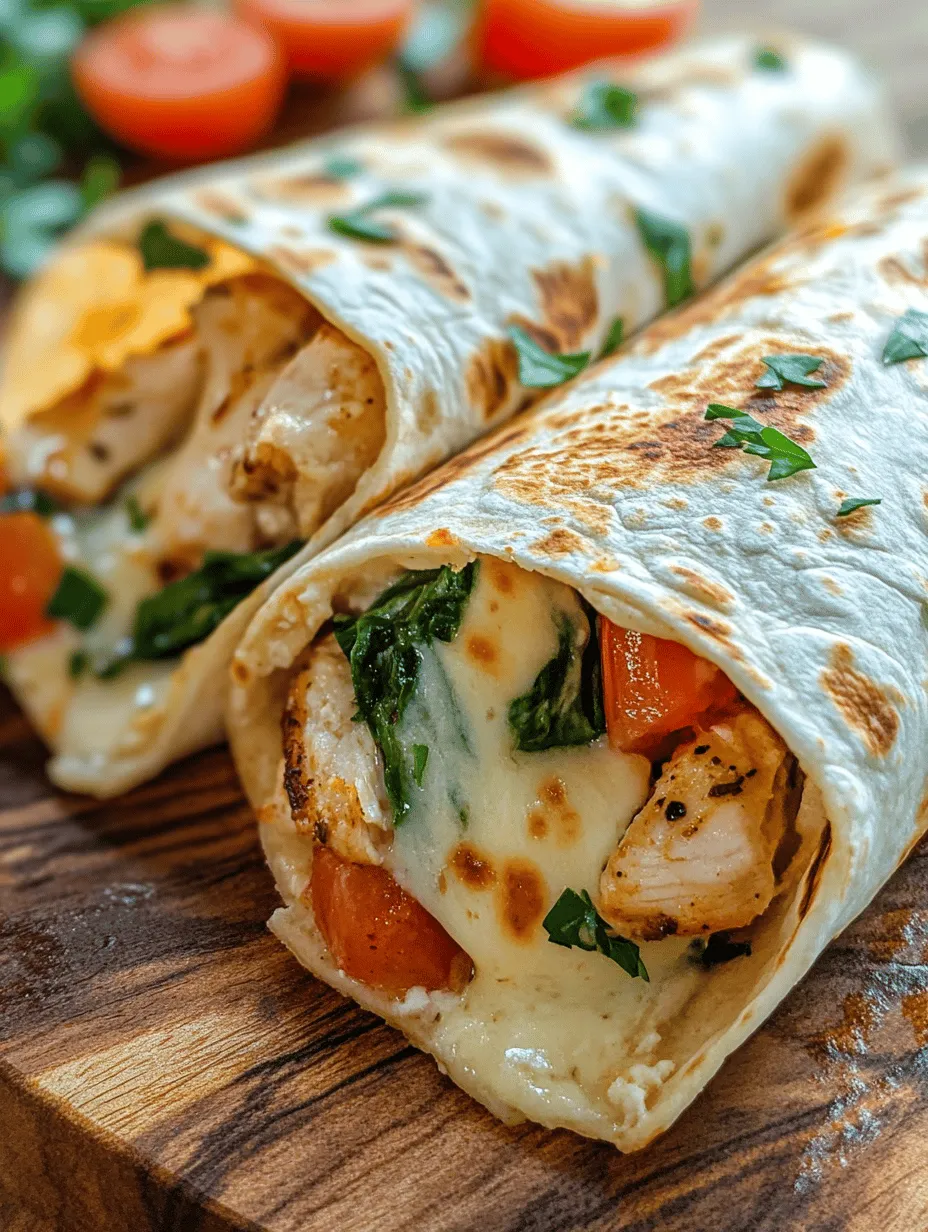
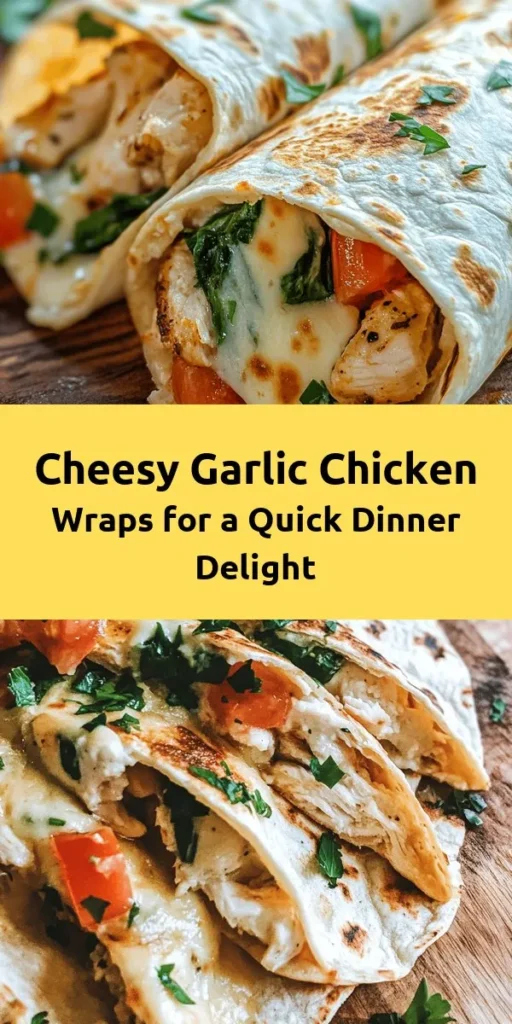
Wraps are a beloved meal choice for many, offering a delightful blend of flavors, textures, and convenience. Their versatility makes them a staple in the culinary world, easily adaptable to suit various tastes and dietary needs. Among the myriad of wrap options, Cheesy Garlic Chicken Wraps stand out with their rich, savory flavors and satisfying ingredients. This recipe combines tender chicken, gooey cheese, and aromatic garlic, all neatly tucked into a soft tortilla for a meal that is both comforting and delicious.
The allure of Cheesy Garlic Chicken Wraps lies not only in their mouthwatering taste but also in their simplicity. With just a few ingredients and minimal prep time, this dish is perfect for busy individuals and families seeking quick and satisfying meals. Whether you’re coming home from a long day at work or looking to whip up something for a weekend lunch, these wraps deliver on flavor without demanding hours in the kitchen.
In this article, we will explore the key ingredients that make this recipe shine, provide detailed preparation steps, and offer tips for achieving the best possible results. By the end, you’ll be well-equipped to create Cheesy Garlic Chicken Wraps that will impress your family and friends.
Understanding the Ingredients
To create the perfect Cheesy Garlic Chicken Wraps, it’s essential to understand the role of each ingredient. This dish relies on a few key components that come together to deliver a delightful culinary experience.
Chicken Breasts
First and foremost, chicken breasts are the star of this wrap. They are not only a fantastic source of lean protein but also incredibly versatile in the kitchen. Chicken can take on a variety of flavors, making it an ideal canvas for the bold tastes of garlic and cheese. When cooked correctly, chicken breasts turn tender and juicy, providing a satisfying bite in every mouthful.
For this recipe, boneless, skinless chicken breasts are recommended to ensure ease of preparation and a healthier dish. The high protein content in chicken helps keep you feeling full and energized, making these wraps a great option for dinner or lunch.
Cheese Selection
Cheese plays an equally important role in our Cheesy Garlic Chicken Wraps, contributing both flavor and texture. For this recipe, a combination of mozzarella and cream cheese is suggested.
– Mozzarella: Known for its stretchy, gooey quality when melted, mozzarella adds a delightful cheesiness that enhances the overall experience of the wrap. Its mild flavor complements the chicken and garlic beautifully.
– Cream Cheese: This ingredient adds a rich, creamy texture that balances the other flavors. It helps bind the filling together while also providing a tangy note that elevates the dish. Together, these cheeses create a luscious filling that is hard to resist.
Garlic and Italian Seasoning
No wrap would be complete without the aromatic punch of garlic. Fresh garlic infuses the chicken with a bold flavor, elevating the dish from simple to extraordinary. Garlic not only enhances taste but also boasts numerous health benefits, including anti-inflammatory properties and potential immune system support.
In addition to garlic, Italian seasoning is a must-have for this recipe. This blend typically includes herbs such as basil, oregano, and thyme, which add depth and complexity to the wrap’s flavor profile. The combination of garlic and Italian seasoning creates a savory base that perfectly complements the creamy cheeses and tender chicken.
Fresh Vegetables
To round out your Cheesy Garlic Chicken Wraps, incorporate fresh vegetables such as spinach and tomatoes.
– Spinach: This leafy green adds a pop of color and a nutritious boost. Spinach is rich in vitamins A and C, iron, and antioxidants. Its mild flavor pairs well with the other ingredients, providing a healthy crunch.
– Tomatoes: Juicy, ripe tomatoes add freshness and acidity to the wrap, balancing the richness of the cheese and chicken. Their vibrant color not only enhances the visual appeal but also contributes additional vitamins and minerals.
Preparation Steps Explained
Now that we have a firm grasp of the ingredients, let’s break down the preparation steps to ensure that your Cheesy Garlic Chicken Wraps turn out perfectly every time.
Cooking Chicken
The first step in this delicious wrap is cooking the chicken. Here’s how to achieve perfect doneness:
1. Start with Quality Chicken Breasts: Choose fresh, high-quality chicken breasts for the best flavor and texture. If they are particularly thick, consider butterflying them to ensure even cooking.
2. Season Generously: Before cooking, season the chicken breasts with salt, pepper, minced garlic, and a sprinkle of Italian seasoning. This will infuse the meat with flavor right from the start.
3. Cooking Method: You can pan-sear, grill, or bake the chicken. For pan-searing, heat a tablespoon of olive oil over medium-high heat. Add the seasoned chicken breasts and cook for 6-7 minutes on each side, or until the internal temperature reaches 165°F (75°C). If grilling, cook for about 6-8 minutes per side, depending on thickness.
4. Rest the Chicken: After cooking, allow the chicken to rest for a few minutes. This step is crucial as it allows the juices to redistribute, ensuring moist and flavorful chicken.
Crafting the Cheese Mixture
While the chicken is resting, it’s time to prepare the cheese mixture. Here’s how to achieve the right consistency and flavor balance:
1. Combine Cheeses: In a mixing bowl, combine equal parts of softened cream cheese and shredded mozzarella. The cream cheese should be at room temperature for easy mixing.
2. Add Flavorings: To the cheese mixture, add minced garlic, a pinch of salt, and a dash of Italian seasoning. Mix well until all ingredients are fully incorporated. The goal is a creamy, flavorful filling that will meld beautifully with the chicken.
3. Adjust Consistency: If the mixture is too thick, you can add a splash of milk or a bit of reserved chicken broth to achieve a smoother consistency. It should be spreadable but still thick enough to hold its shape once filled in the wrap.
Combining Ingredients
With the chicken cooked and the cheese mixture prepared, it’s time to combine the ingredients:
1. Shred the Chicken: Once the chicken has rested, shred it into bite-sized pieces. This not only makes it easier to fill the wraps but also allows for even distribution of flavors.
2. Mix Everything Together: In a large bowl, combine the shredded chicken, cheese mixture, fresh spinach, and diced tomatoes. Stir gently to combine, taking care not to overmix. The goal is to have a cohesive filling that showcases each ingredient.
Assembling the Wrap
Now that your filling is ready, it’s time to assemble the wraps. Here’s a step-by-step guide to ensure perfect filling distribution:
1. Prepare the Tortillas: Choose large flour tortillas for this recipe, as they provide ample space for the filling. For added flexibility, warm the tortillas slightly in a dry skillet or microwave for a few seconds until pliable.
2. Fill the Tortilla: Place a generous scoop of the chicken and cheese mixture in the center of the tortilla. Be careful not to overfill, as this can make wrapping difficult.
3. Fold and Roll: To wrap the tortilla, start by folding the sides in towards the center. Then, begin rolling from the bottom, tucking the filling in as you go. Ensure a snug fit without tearing the tortilla.
4. Seal the Wrap: Once rolled, you can place the seam side down on a plate to help keep the wrap closed. If desired, you can also use a toothpick to secure the wrap for easier handling.
The Art of Wrapping
A well-wrapped tortilla not only looks appealing but also keeps the filling secure. Here are a few techniques for achieving a secure and tidy closure:
1. Use the Right Size Tortilla: The size of your tortilla is important. A larger tortilla allows for more filling and easier wrapping, while smaller tortillas may lead to spills.
2. Don’t Overfill: This cannot be stressed enough. Overfilling can lead to messy wraps that fall apart. Aim for a balanced amount of filling that allows for easy folding.
3. Practice Your Technique: Like any skill, wrapping takes practice. Don’t be discouraged if your first few attempts aren’t perfect. With a little patience, you’ll master the art of wrapping in no time.
4. Consider Grilling or Toasting: For an added layer of flavor and crunch, consider grilling or toasting your assembled wraps in a skillet. This will provide a crispy exterior while warming the inside, enhancing the overall taste.
By following these steps and tips, you’ll be well on your way to creating Cheesy Garlic Chicken Wraps that are not only delicious but also visually appealing. As we continue, we will delve deeper into the cooking techniques, variations, and serving suggestions that can elevate this simple recipe to new heights. Stay tuned for more insights and delicious ideas!
The Benefits of Toasting Wraps
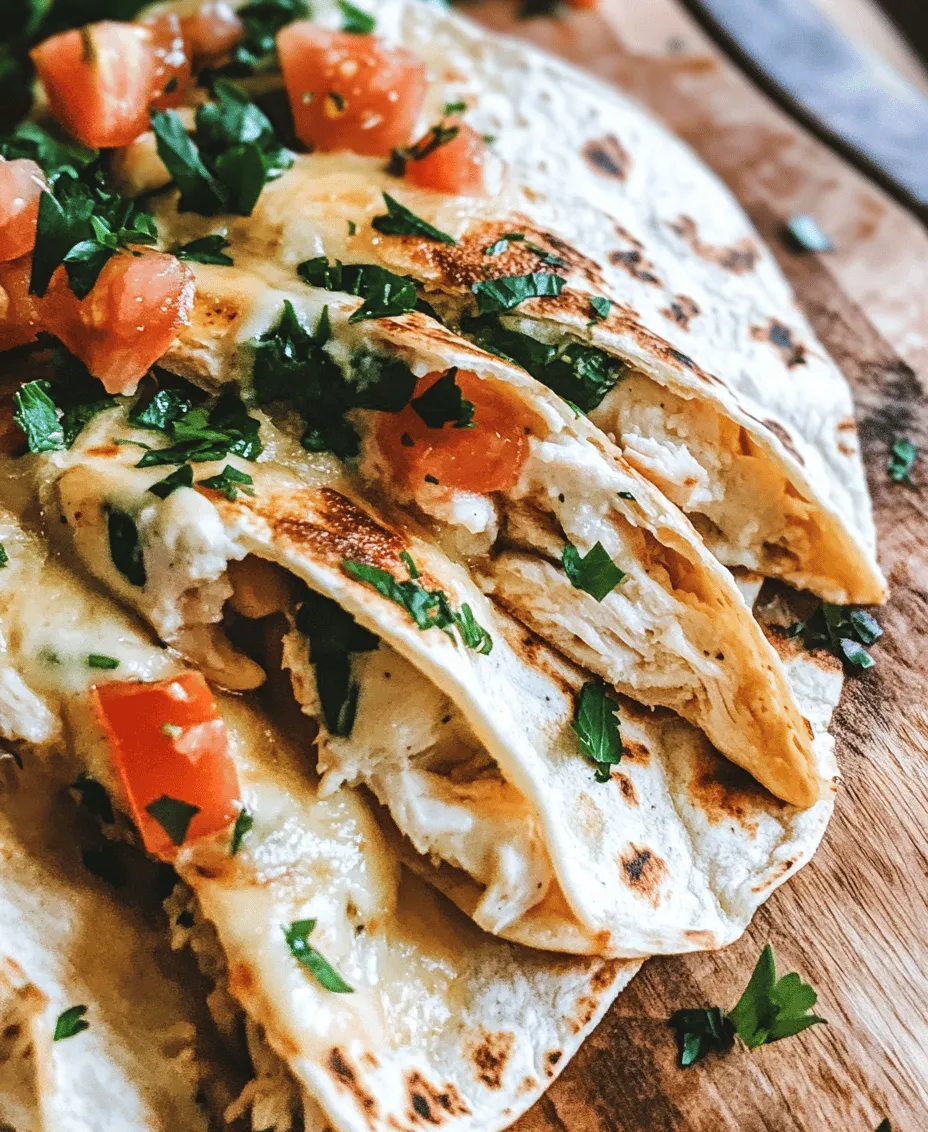
Toasting wraps is an essential step in achieving the ultimate Cheesy Garlic Chicken Wraps experience. This simple process enhances both flavor and texture, transforming a regular meal into something truly special. When you toast the wraps, the heat creates a delightful crunch on the outside while allowing the cheese to melt perfectly within. This contrast elevates the eating experience, making each bite a satisfying mix of crispy and gooey.
Additionally, toasting helps lock in the flavors of the fillings. The gentle heat caramelizes the garlic while the cheese becomes warm and gooey, creating a rich, savory profile that tantalizes your taste buds. A well-toasted wrap not only looks more appealing but also holds its shape better, preventing any fillings from spilling out.
Optional Variations for Added Crunch and Flavor
While the classic Cheesy Garlic Chicken Wrap is delicious on its own, there are numerous ways to enhance it further. Here are some optional variations to consider:
1. Add Crunchy Vegetables: Incorporate fresh vegetables like bell peppers, cucumbers, or shredded carrots. These will not only add a refreshing crunch but also boost the nutritional profile of your wraps.
2. Include Avocado: Creamy avocado slices or guacamole can add a rich flavor and additional healthy fats, making the wrap even more satisfying.
3. Spicy Kick: For those who enjoy a little heat, adding jalapeños or a drizzle of sriracha can give your wraps an exciting kick.
4. Experiment with Cheeses: Instead of just cheddar, try mixing in pepper jack for a spicier option or feta for a Mediterranean twist.
5. Herb Infusion: Adding fresh herbs such as cilantro, basil, or dill can elevate the flavor profile and bring a garden-fresh taste to your wraps.
Serving Suggestions
Presentation Tips
Creating an inviting presentation for your Cheesy Garlic Chicken Wraps can enhance the overall dining experience. Here are some tips to make your wraps visually appealing:
– Cut in Half: Slice the wraps diagonally to showcase the colorful filling inside. This not only makes them easier to eat but also adds a visual element that highlights the ingredients.
– Garnish: Sprinkle chopped fresh herbs or a pinch of paprika on top for a pop of color.
– Serve on a Platter: Arrange the wraps on a nice serving platter, accompanied by small bowls of dipping sauces. This communal style can make your meal feel more festive.
Pairing Ideas
Complementing your Cheesy Garlic Chicken Wraps with the right sides and sauces can create a balanced meal. Here are some suggestions:
– Dipping Sauces: A tangy ranch or a zesty yogurt-based sauce can pair perfectly with the savory flavors of the wraps. For a spicy option, consider a chipotle mayo or buffalo sauce.
– Side Salads: A light side salad with mixed greens, cherry tomatoes, and a vinaigrette can provide a fresh contrast to the richness of the wraps. Alternatively, a crunchy coleslaw can add texture.
– Chips or Fries: Serve your wraps with a side of sweet potato fries or tortilla chips for added crunch and satisfaction.
Nutritional Considerations
When enjoying Cheesy Garlic Chicken Wraps, it’s essential to balance your meal with additional sides or salads. Here’s a breakdown of the nutritional aspects:
– Calories and Nutritional Benefits: Each wrap is approximately 400-500 calories, depending on the ingredients used. The chicken provides lean protein, while the vegetables contribute fiber and essential vitamins.
– Fresh Ingredients: Using fresh ingredients not only improves the flavor but also boosts the nutritional quality of your meal. Fresh vegetables and herbs can enhance the antioxidant content, making your wraps healthier.
– Dietary Needs: For those with dietary restrictions, there are options to customize the recipe. Gluten-free wraps made from almond or coconut flour can cater to gluten-sensitive individuals. Additionally, using lettuce leaves instead of traditional wraps can create a low-carb alternative, perfect for those following ketogenic diets.
Storing and Reheating Leftovers
If you happen to have any leftover Cheesy Garlic Chicken Wraps, proper storage and reheating techniques can help maintain their freshness and flavor.
Best Practices for Storing Wraps
– Cool Completely: Allow the wraps to cool down to room temperature before storing them to prevent condensation, which can make them soggy.
– Wrap Tightly: Use plastic wrap or aluminum foil to wrap the leftovers tightly. This helps keep them fresh and prevents air from getting in.
– Use Airtight Containers: If you prefer, place the wrapped wraps in an airtight container. Store them in the refrigerator for up to 3 days.
Tips for Reheating
To ensure your wraps retain their crispy exterior and warm filling:
1. Reheat in a Skillet: Heat a skillet over medium heat and place the wrap in the pan. Cook for 2-3 minutes on each side until heated through and crispy.
2. Use an Oven: Preheat your oven to 350°F (175°C). Wrap the wraps in aluminum foil and heat them for about 10-15 minutes, or until warmed through.
3. Avoid Microwaving: While it may be tempting, microwaving can often lead to a soggy texture. If you must use a microwave, reheat on a low power setting and eat immediately.
Conclusion
Cheesy Garlic Chicken Wraps are not just a meal; they are a versatile and satisfying option that can easily be tailored to suit individual tastes. Whether you’re preparing them for a quick weeknight dinner or a gathering with friends, these wraps deliver on flavor and convenience. With the option to customize fillings, experiment with toppings, and pair them with delicious sides, they can become a staple in your meal rotation.
We encourage you to try this recipe and make it your own by incorporating your favorite ingredients. Don’t hesitate to explore various flavor profiles and additional toppings that can enhance your wraps even further. With a little creativity, Cheesy Garlic Chicken Wraps can be a delightful solution for any occasion, providing a quick and delicious meal that will leave everyone satisfied.